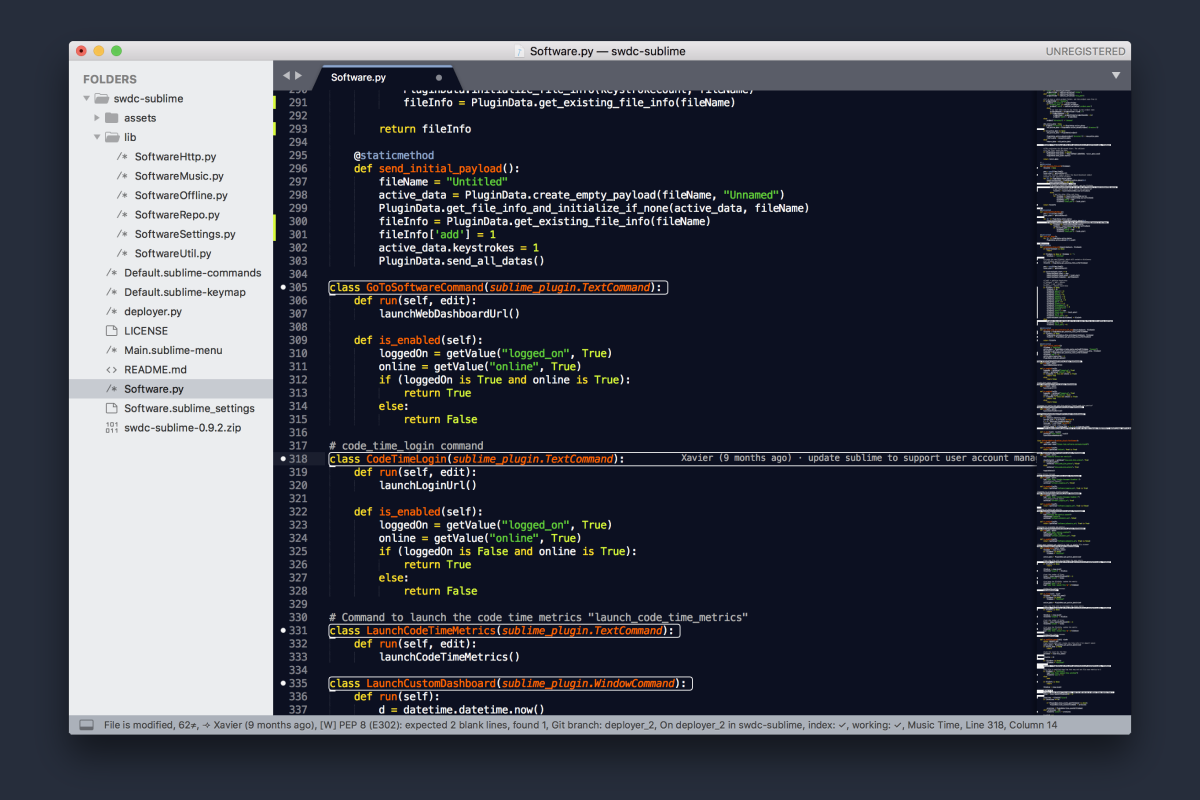
Sublime Text is a high-performing, easy-to-use, and extensible code editor. It easily contends with VS Code, Atom, and IntelliJ as one of the top code editors of 2019. Whether you’re learning to code or just looking for some quick suggestions, we’ve put together a short guide to help you set up your Sublime Text environment.
- Sublime Text built-in features
- Customizing your settings
- Setting up the command line tool
- Installing Sublime Text packages
- Top Sublime Text packages we recommend
Sublime Text built-in features
Before you download any plugins, there are some useful built-in Sublime Text features and shortcuts you should know about.
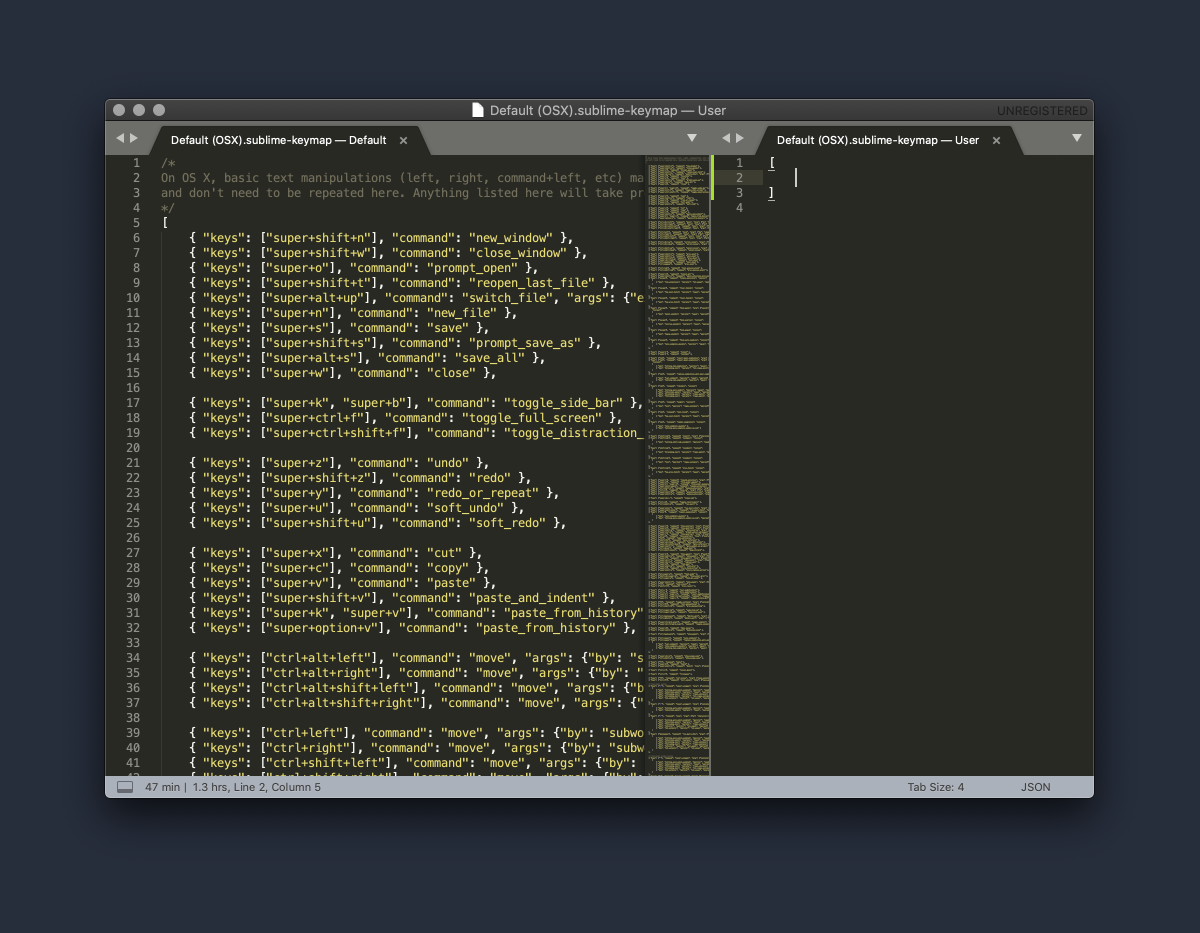
Many of Sublime Text’s most powerful features are hidden behind a simple interface and exposed with keybindings. You can find a list of all the keybindings in Sublime Text by going to Sublime Text > Preferences > Keybindings.
You can also create your own keybindings to customize your personal workflows. We’ll cover a few of the most important ones below.

Split layouts (OPTION + CMD + 2 to split into two columns, OPTION + CMD + 1 to revert to one column): You can edit two files at once by arranging your files in a split screen view. To open a split layout manually, right click on a file in the tree and clicking "Edit to the right." You can also access multi-column layouts from View > Layouts in the main menu.
Jump to previous position (CTRL + - to go backward, CTRL + SHIFT + - to go forward): One VS Code’s best features is the two arrow buttons in the status bar that allow you to navigate between your current and previous cursor positions. Sublime Text also supports this functionality with the use of shortcut commands.
Goto definition: Right click on a class or method referenced in your code to jump to its definition. Only available for Sublime Text 3.
Goto symbol (CMD + R or CTRL + R): You can open a panel where you can see a list of all functions and classes within a file. This makes it really easy to navigate between modules of your codebase. Only available for Sublime Text 3.
Goto line number (CTRL + G): Quickly navigate to any line in a file using this command.
Change line order (CMD + CTRL + ↓ and CMD + CTRL + ↑): Move a selected line of code up or down.
Replace all references (CMD + CTRL + G): Quickly select and edit all references of a word in a file at once with this command. This is useful if you have to rename a function, class, or variable globally.
Find in project (CMD + SHIFT + G): Quickly search all files and optionally perform a replace or replace all in the process. This command will open a new tab with the references.
Integrated console (CTRL + `): Open a console inside the editor. If you want to find a command name, you can turn on verbose logging of Sublime commands with sublime.log_commands(True).
Minimap: Sublime Text has a large scrollbar on the right-hand side of the text editor that provides a preview of where you are in a file. You can click and drag down the minimap to change your position in the file. Turn the minimap on or off by opening the command palette with CMD + SHIFT + P and typing View: Toggle Minimap.
Code snippets: Sublime Text comes with integrated code snippets. Try opening a Python file, typing "defs", and then hit tab to automatically set up a generic function. You can also create your own code snippets from the Tools menu.
Plugin profiling tool: If you use a lot of packages, this tool will help you manage the performance of your editor. See how much time each package adds to events such as startup time, opening and closing files, and modifying text. You can run the profiling tool from Tools > Developer > Profile Plugins.
For more shortcuts across MacOS, Windows, and Linux, check out this resource. If you’re looking for a list of shortcut commands on Windows, check out this GitHub Gist.
Setting up the command line tool
Sublime Text 3 includes a command line tool called subl that lets you quickly open the Sublime Text editor, work with files and directories, and more, all from the command line.
Follow these terminal instructions for MacOS to get started.
# Create a bin directory if you don’t already have one
$ mkdir ~/bin
# Add your bin to your bash profile
$ echo 'export PATH=$PATH:$HOME/bin' >> ~/.bash_profile
# Set Sublime as your default editor
$ echo "export EDITOR='subl -w'" >> ~/.bash_profile
# Copy the Sublime executable to your /bin directory
$ ln -s "/Applications/Sublime Text.app/Contents/SharedSupport/bin/subl" ~/bin/subl
# Test it out by running the Sublime executable in a directory you would like to open in Sublime Text
$ subl .
If you’re looking to set up subl on Windows, check out this tutorial.
Once you’ve set up subl, you can run the subl followed by a filename or directory name to quickly open it in Sublime Text.
Settings you should customize
Sublime Text is highly configurable. All of its settings are stored in a JSON file which provides greater flexibility and customizability for developers who want to tweak Sublime Text. Before you begin, there are several different settings you should be aware of that you can customize with Sublime Text:
- Default: reference this file for the master list of settings. Sublime Text does not allow you to change your default settings because this file gets updated with each new release.
- User: anything you add to this file will override your default settings.
- Language: you can also create preferences files for different languages. Both default and user settings will be overridden by language-specific settings (e.g. for HTML, CSS, Python, Javascript, etc.). You can edit this file for a specific language when a file is open by clicking Sublime Text > Preferences > Settings – Syntax Specific.
You can go to Sublime Text > Preferences > Settings to open the configurable JSON file. Here are some settings we’d recommend you customize to get started:
- word_wrap: this is useful if you want to prevent your text editor window from scrolling horizontally for long lines of text.
- ensure_newline_at_eof_on_save: this setting makes it easy to add a new line to the end of every file on save to prevent compile errors.
- scroll_past_end: allows you to scroll past the last line in a file, which can make it easier to read code.
- highlight_modified_tabs: distinguishes unsaved files from saved files, ensuring you never lose your work.
- color_scheme: this is where you can set your theme.
- ignored_packages: sometimes it can be useful to ignore packages (e.g. if you want to temporarily disable a package without uninstalling it).
Here’s an example of a Preferences.sublime-settings.json file:
{
"word_wrap": true
"tab_size": 4,
"font_face": "Inconsolata",
"color_scheme": "Packages/Color Scheme - Default/Blackboard.tmTheme",
"trim_trailing_white_space_on_save": false,
"translate_tabs_to_spaces": true,
"spellcheck": true,
"open_files_in_new_window": false,
"ensure_newline_at_eof_on_save": true,
"highlight_modified_tabs": true,
"scroll_past_end": true,
"ignored_packages":
[
"Sublime Linter"
]
}
You can read more about settings in the Sublime Text documentation.
How to install a Sublime Text package
Sublime Text has an external package manager called Package Control that must be installed before you can install, upgrade, or remove any packages.
To set up Package Control, follow the official instructions here. Package Control will create a "Installed Packages" folder for you and then download the Package Control.sublime-package file into it. If you don't want to use Package Control but still want to install third-party packages, you can create the Packages folder on your own and then manually copy plugin files into that folder.
Once you’ve installed Package Control, you can install a package by opening the command menu (CMD + SHIFT + P) and finding the Package Control: Install Package command.
Top Sublime Text packages we recommend
There are close to 5K packages available for Sublime Text. While this number is smaller than that of VS Code (15K) and Atom (9K), there is a package for almost any type of functionality you might be looking for. Here are our top 10 Sublime Text packages as of December 2019:

- SidebarEnhancement (2.25M): Gives you more control over the folders and files in your sidebar. You can create new files, delete files, duplicate files, and open files in finder—all from the sidebar view.
- SublimeLinter (1.91M): While there are many linters available from the marketplace, we’d recommend first installing SublimeLinter, which provides a framework for linting code. Linters can then be installed separately via Package Control using the SublimeLinter-[lintername] naming syntax. For instance, for Javascript you can install SublimeLinter-eslint. If you’re new to coding and learning Javascript, ESLint supports ES6 code, is highly extensible, and is very easy to use. One setting you should configure for your linter is `formaton_save`. For ES Lint, you can do this by going to Preferences > Package Settings > ESLint-Formatter > Settings > User.
- SublimeGit (159K): Lets you execute Git commands from the Sublime Text menu. Try opening the menu (CMD + SHIFT + P) and select the command Git: Status. You will see a new tab with the status of the working directory.
- FileDiffs (273K): Shows the diff between two files. This makes it really easy to spot differences in your code. You can try out this plugin by highlighting a section you’ve edited, going to the FileDiffs menu, and then clicking "Diff file with Clipboard."
- MarkdownPreview (628K): If you want to preview your README files, try running the "Markdown Preview: Preview in Browser". You can also preview them with GitHub styles.
- Anaconda (651K): Adds useful Python features like autocompletion, goto definitions, code linting, and more, turning Sublime Text into a full-featured Python IDE.
- Githubinator (20K): Helps you easily move between your editor and GitHub. You can highlight a section of text and then quickly open the text you highlighted in GitHub.
- GitGutter (747K): Shows your Git status in real-time in the gutter. You can also open a diff popup that shows the original content from the commit or the differences between it and the working content. It also has Git blame annotation, like GitLens for VS Code. Please note that line annotations are only supported in Sublime Text 3.
- Nodejs (311K): If you are building a Node.js app, check out this package, which provides Node.js snippets inside of Sublime Text.
- Emmet (4.56M) - Emmet is the most popular Sublime Text package of all time. It supports features such as HTML and CSS snippets autocreation, making it a must-have for frontend developers.
One more on our list is Code Time, a plugin that we created for Sublime Text. Code Time provides real-time time-tracking in the status bar of Sublime and helps you find your best times for coding, so you can defend your time against meetings and interrupts.

If you enjoyed this list, consider contributing your own plugin to the community!


